How to Set Up ISEE Essential Guide

A. Unbox

Step 1: Unboxing

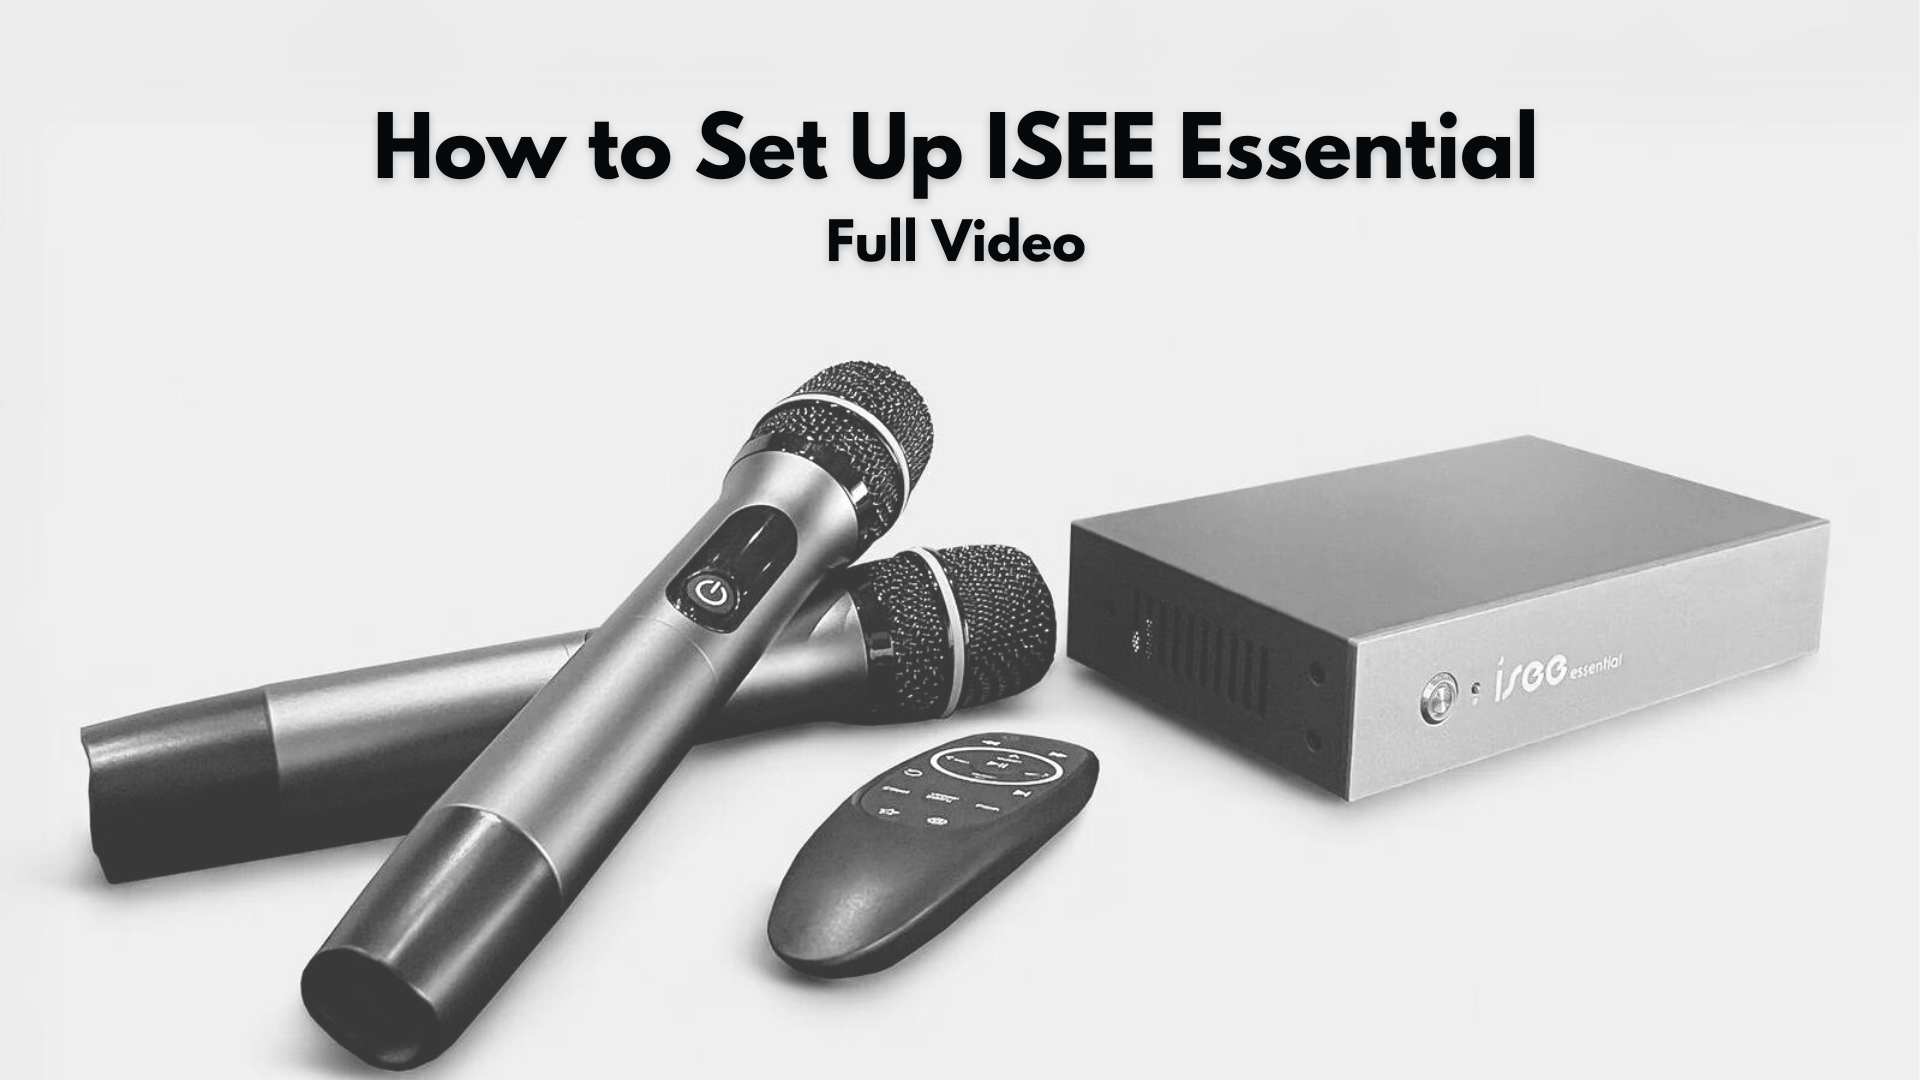
  • First, open the box and take out all the accessories inside. The accessories include the Bluetooth remote, user manual card, ISEE Essential player, power supply, WiFi antenna, mic antenna, 2 wireless mics, HDMI cable, 2 RCA to 2 RCA cable, and a 2 RCA to 3.5mm cable.

Step 2: Remote Control

  • Take the remote control and insert two 3A batteries (not included). Keep the Bluetooth receiver for later.

B. Connect Cables

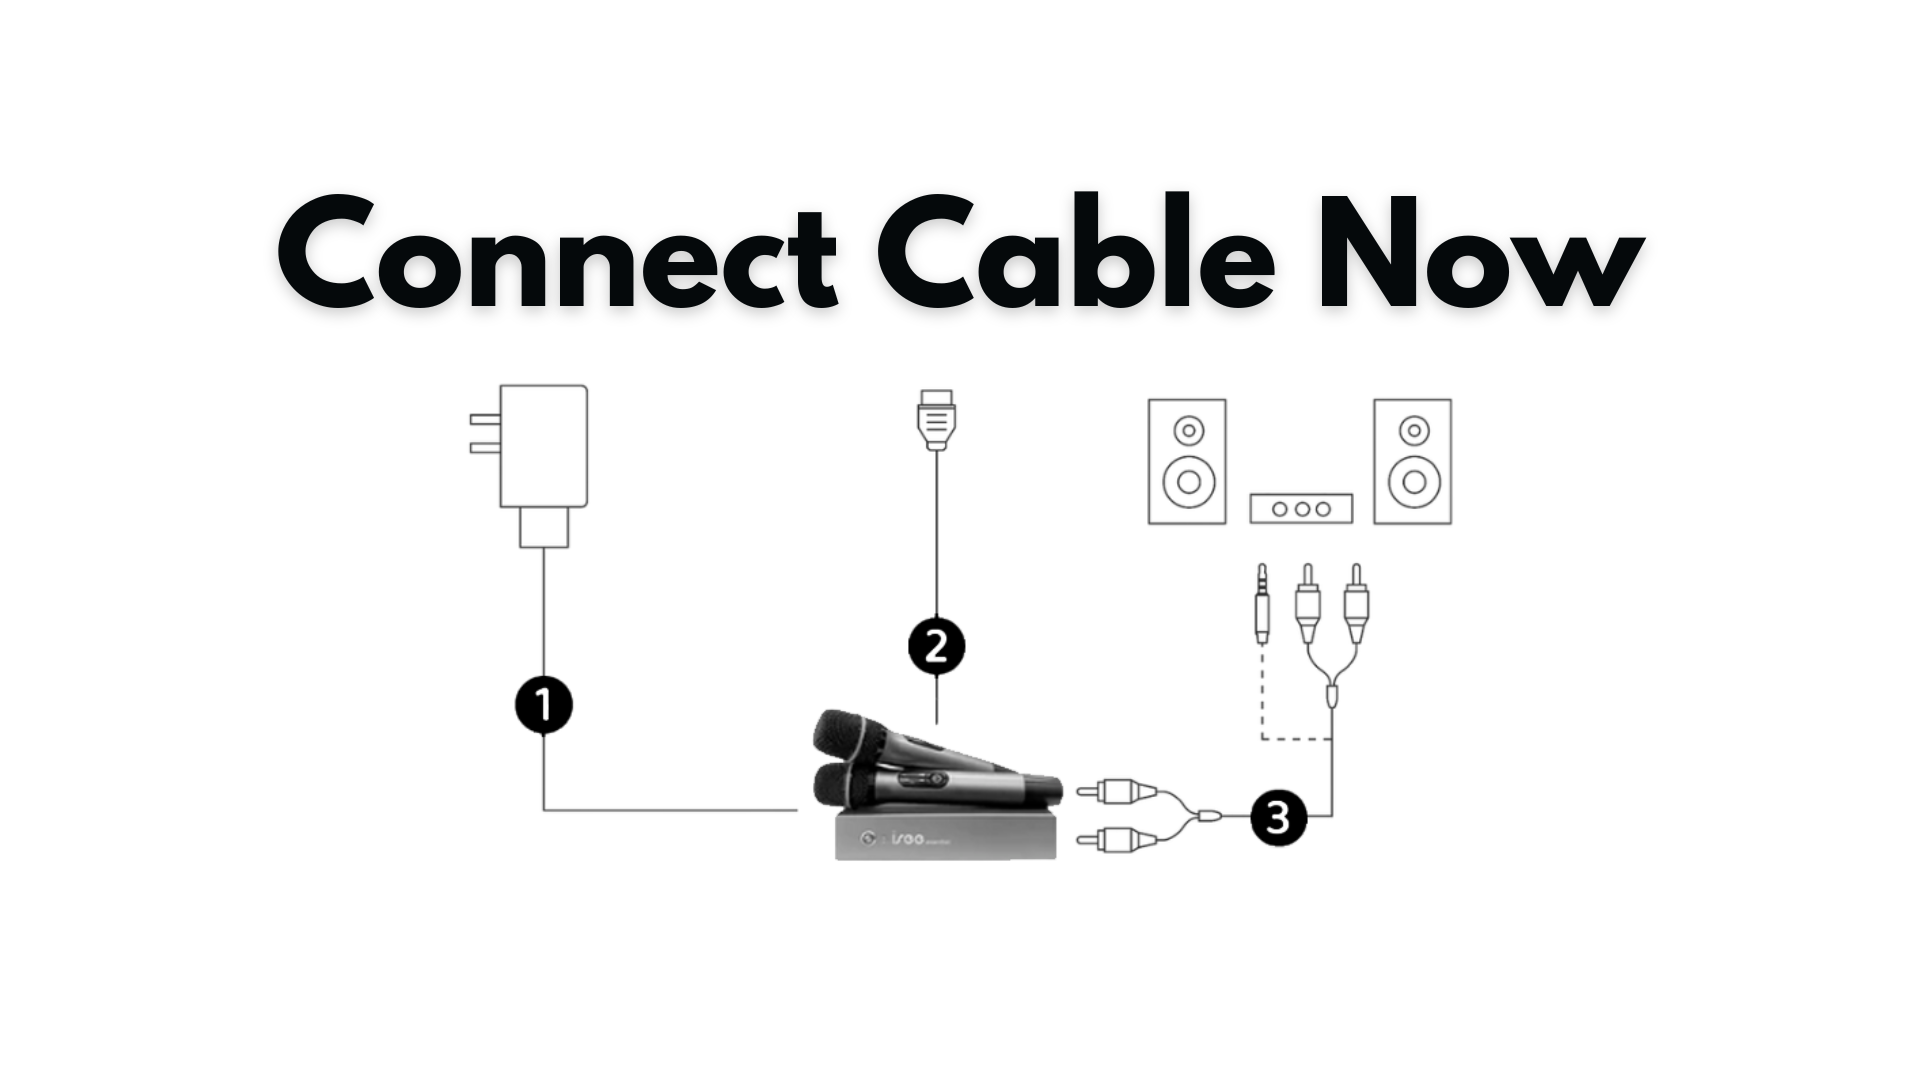
Step 3: Connect Cables

  • Connect the power supply to a power socket, plug in the WiFi antenna (or use an Ethernet cable if you don't have WiFi at home), plug in the Bluetooth receiver of the remote control, connect the HDMI cable to your TV or projector, connect the 2 RCA to your speakers with a 2 RCA/3.5mm port, and plug in the mic antenna.

Step 4: Turn On

  • Switch on the ISEE Essential now.

C. Link Your Device

Step 5: WiFi Setup

  • Use the remote control to set up WiFi. Enter your password and ensure it connects. If not, check the password's capitalization. Skip this step if using a LAN cable.

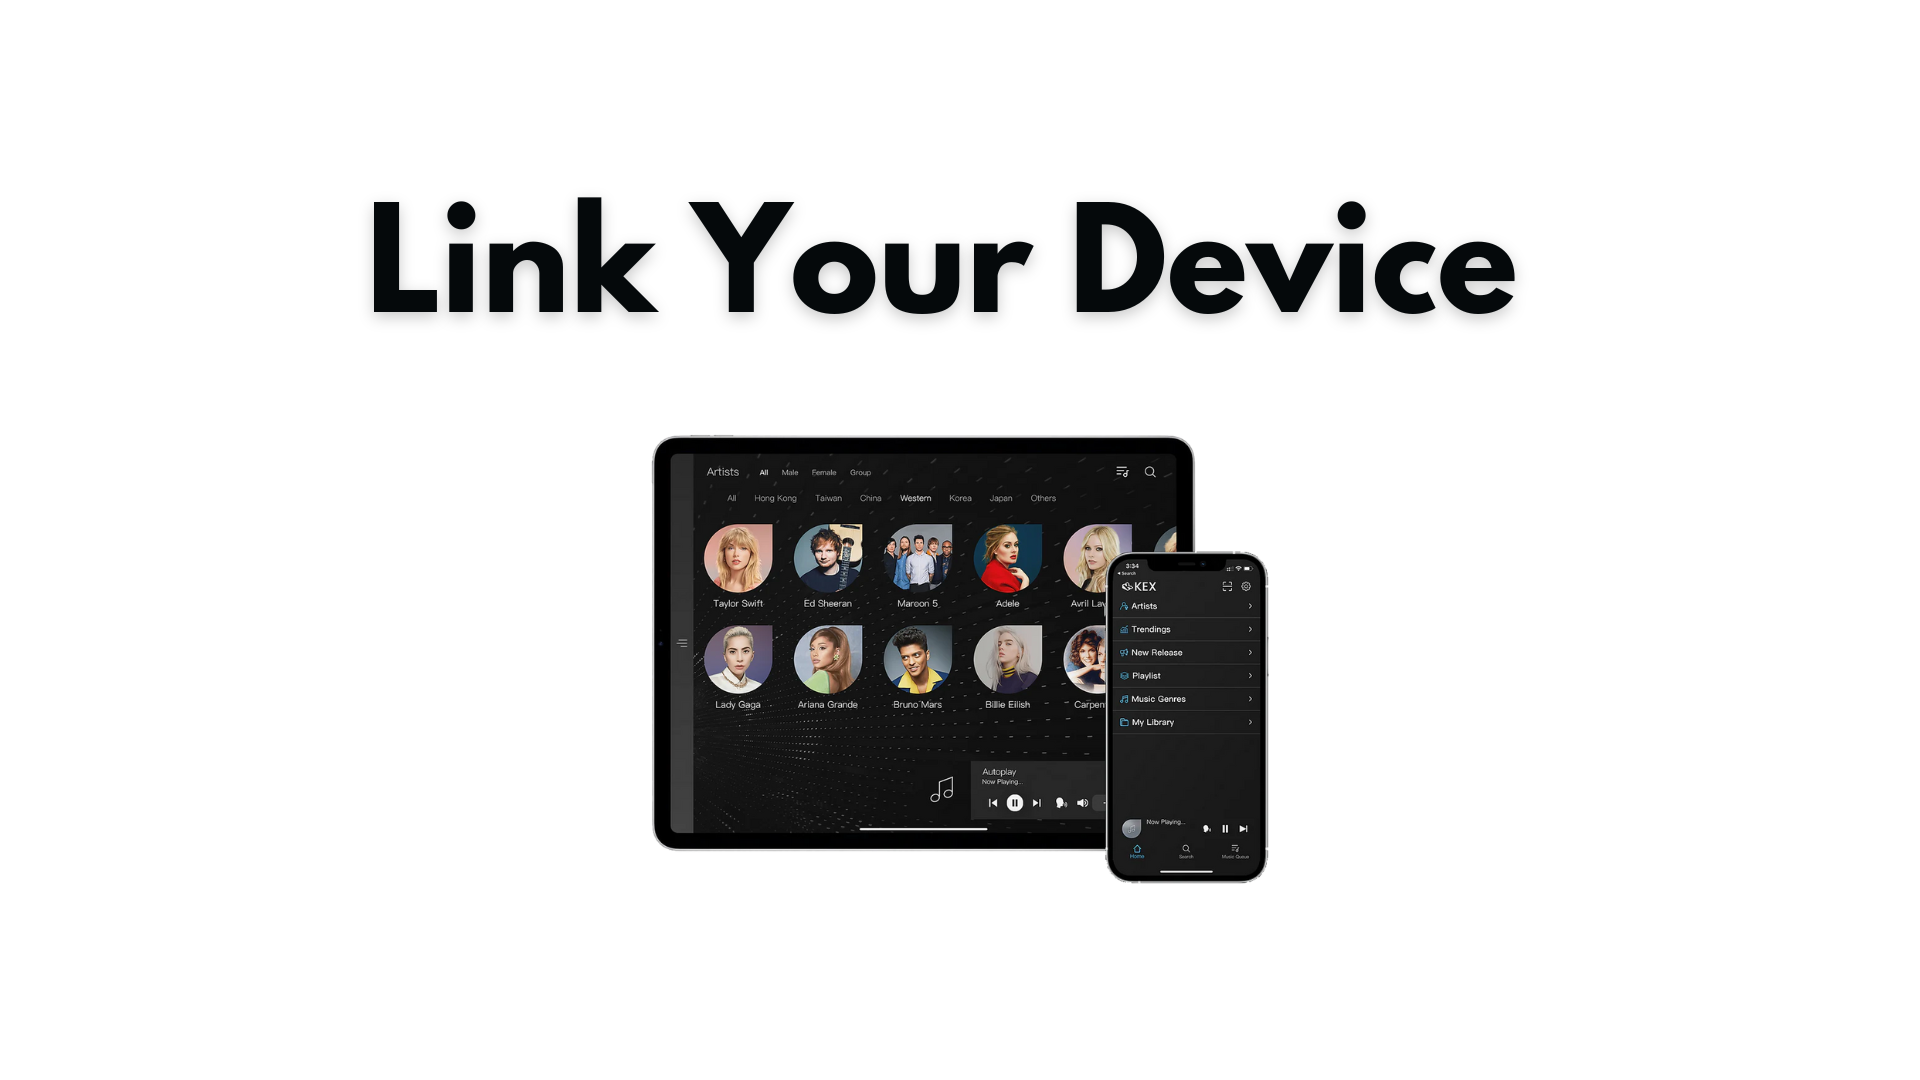
Step 6: Link Device

  • Download the KEX Karaoke app on your mobile device, press 'link,' and scan the QR code on your TV for connection.

Step 7: Activate Subscription

  • After connecting with the app, access subscriptions, register with an email, and choose the plan. Start the trial and restart the device to begin karaoke.

Enjoy!

Step 8: Get Ready to Select Songs!

  • For iPad users, download the 'KEX' app, scan the QR code on your TV, and start choosing songs.
  • You've successfully set up your ISEE Essential karaoke system.

If you need further assistance with installation, device connection, subscription setup, repairing microphones, or troubleshooting, feel free to reach out.